
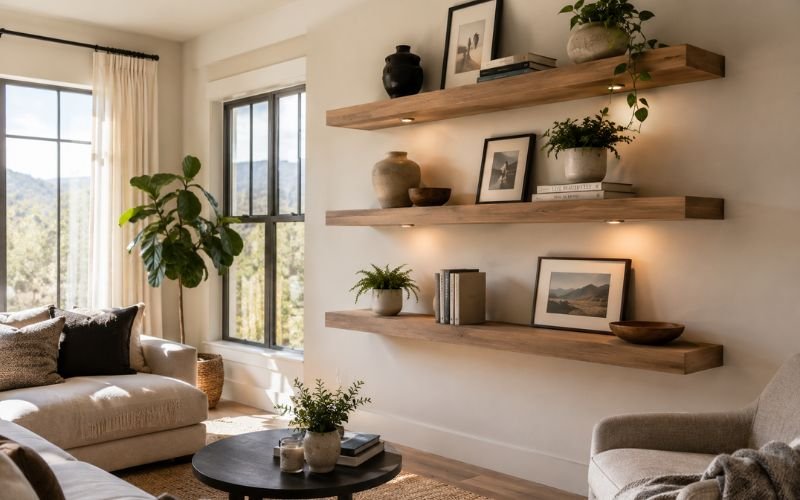
Hanging wall shelves on drywall sounds easy – until one falls off the wall and takes a chunk of drywall with it. The good news is that with the right hardware and a little prep, it’s a straightforward job anyone can do.
In this guide, we will help you understand the right way to hang wall shelves on drywall, what equipment you’ll need, and mistakes to avoid during and after the installation. Let’s get started!
Quick Equipment Checklist Before You Start
- Stud finder
- Pencil and measuring tape
- Level
- Drill and drill bits
- Wall anchors or screws (matched to your load)
- Shelf brackets
- Your wall shelf
Get these together before you start and the whole job goes much smoother. Whether you’re putting up a single wall shelf in the wall shelf or a full shelving wall mounted unit in the living room, the process is exactly the same, just scaled up.
How to Hang Up Shelves on Drywall Without Studs?
When studs aren’t where you need them, drywall anchors are your solution. Here are the main types:
- Plastic expansion anchors – These anchors are good for very light loads (10–25 lbs)
- Toggle bolts – These bolts are reliable for medium loads (50–100 lbs), a go-to for most wall-mounted shelves
- Snap-toggle anchors – Snap toggle anchors are easier to install than toggle bolts, rated around 50–80 lbs
- Molly bolts – These bolts stay in the wall even when the screw is removed, great if you’ll be adjusting later
Step-by-Step Installation to Hang Wall Shelves on Drywall
Installing a wall shelf on drywall is easy but requires careful consideration. Start to finish, the whole project usually takes under half an hour. There’s nothing technically difficult about it. Here is a step-by-step guide you can easily follow:
Step 1: Decide Where You Want the Shelf
This is the step people rush, and it’s the one most worth slowing down for. Hold the shelf up against the wall. Step back and finalise the position before you commit to anything. Once you’re happy with the height and placement, mark it lightly with a pencil. Then use a level to draw your guideline.
Step 2: Pick the Right Anchor for the Job
Not all anchors are equal, and the difference matters more than the packaging makes obvious. A small shelf holding a candle and a photo frame has almost no structural requirements. A shelf that’s going to hold a row of hardbacks or a collection of plants requires a different strength entirely. Check the weight rating before you buy and choose something rated comfortably above what you’re actually planning to put on it.
Step 3: Drill the Pilot Hole
Measure once and then drill the holes. Use the bit size the anchor manufacturer specifies – not approximately that size, that exact size. Too large and the anchor will sit loose and wobble. Too small and you’ll be forcing it in, which rarely ends well. It just takes two seconds to check the packet but it is worth it every time.
Step 4: Install the Drywall Anchor
Push the anchor into the hole until it sits flush with the wall surface. When it’s seated properly, you’ll feel it – there’s a solidity to it that’s immediately obvious. That flush fit is what distributes the weight across the drywall rather than concentrating it at one point.
Step 5: Secure the Screw
Drive the screw in until it’s snug and stop there. Over-tightening is one of the most common mistakes in drywall work. It feels like you’re making things more secure, but what you’re actually doing is stripping the anchor’s grip and compressing the drywall around it. Snug means firm. It doesn’t mean as tight as possible.
Step 6: Attach the Bracket
Attach the bracket according to the instructions, but don’t fully tighten everything yet. Get it roughly in place, then check alignment with your level one more time. A small adjustment now takes five seconds. The same adjustment after everything is tightened might take ten minutes and leave marks on the wall.
Step 7: Mount the Shelf and Test It
Put the shelf on the brackets. Secure it if the design requires it. Then press down on it firmly, not gently. You want to know now if something isn’t right, not in three weeks when it’s loaded with things. If it holds steady without movement, you’re done.
What Are Common Mistakes When Installing Wall Shelves?
Most shelf failures come down to a handful of avoidable errors.
- Using the wrong anchor – Plastic anchors are cheap for a reason. Don’t use them for anything heavy. If your wooden wall shelves are going to hold books or kitchen gear, use drywall anchors or snap-toggles.
- Skipping the level – A shelf that’s even slightly off looks noticeably crooked every time you walk past it. Use a level every single time.
- Skipping the stud finder – Knocking on the wall and guessing where studs are works maybe half the time. A basic stud finder costs $15 and saves you from patching extra holes.
- Overloading the shelf – Just because something is rated for 50 lbs doesn’t mean you should load it to exactly 50 lbs. Leave a margin as weight that shifts or gets added over time can weaken anchors gradually.
- Not pre-drilling – Driving a screw directly into drywall without a pilot hole often cracks the surface or makes the hole larger than intended. Always pre-drill.
How Much Weight Can I Hang on Drywall?
It depends entirely on what you’re anchoring into.
| Anchor Type | Weight Capacity |
| Bare drywall (no anchor) | Almost nothing |
| Plastic expansion anchor | 10–25 lbs |
| Molly bolt | 25–50 lbs |
| Toggle bolt / Snap-toggle | 50–100 lbs |
| Wall stud | 80–100+ lbs |
For decorative white wall shelves holding light items, anchors are perfectly fine. For wooden wall shelves loaded with books, or a modular furniture system spanning an entire wall, hit the studs wherever you can.
A simple rule: if you’re unsure whether your anchor can handle it, go one size up or find the stud.
Can You Hang Shelves on Drywall?
Yes, but drywall alone won’t hold much. That half-inch layer behind your paint crumbles under real weight if you just drive a screw straight into it.
What actually holds your wall shelves in place is either:
- A wall stud – the wooden beam behind the drywall
- A wall anchor – a fastener designed to grip the drywall when no stud is available
An anchor works good for light stuff, like a small decorative wall shelf. When it comes to more substantial wooden wall racks or a complete shelving wall-mounted system, finding one of the studs is definitely constantly better.
Wrapping it Up
You can mount shelves on drywall successfully, provided that you use the proper anchors and install them correctly. The key to a safe, repeat-on-your-own method for hanging things on the wall – whether it’s lightweight decorative shelves or heavier storage solutions? Spend the time to follow these steps detailed above and your shelves will be strong, level and decorate your house looking great forever.


